Blog · Listing photos
How to take real estate photos: a level camera, open blinds, and the whole floor
By Brian Lesko, creator of Furniture Finder · Published
The listing photo is the first showing. Most people decide whether to book the real one from a phone screen, in a few seconds, scrolling.
Most bad listing photos fail for the same three reasons. The camera was tilted, so the walls lean in. The window blew out to white. The counters were full. None of those needs a better camera. All three are fixed before you press the shutter.
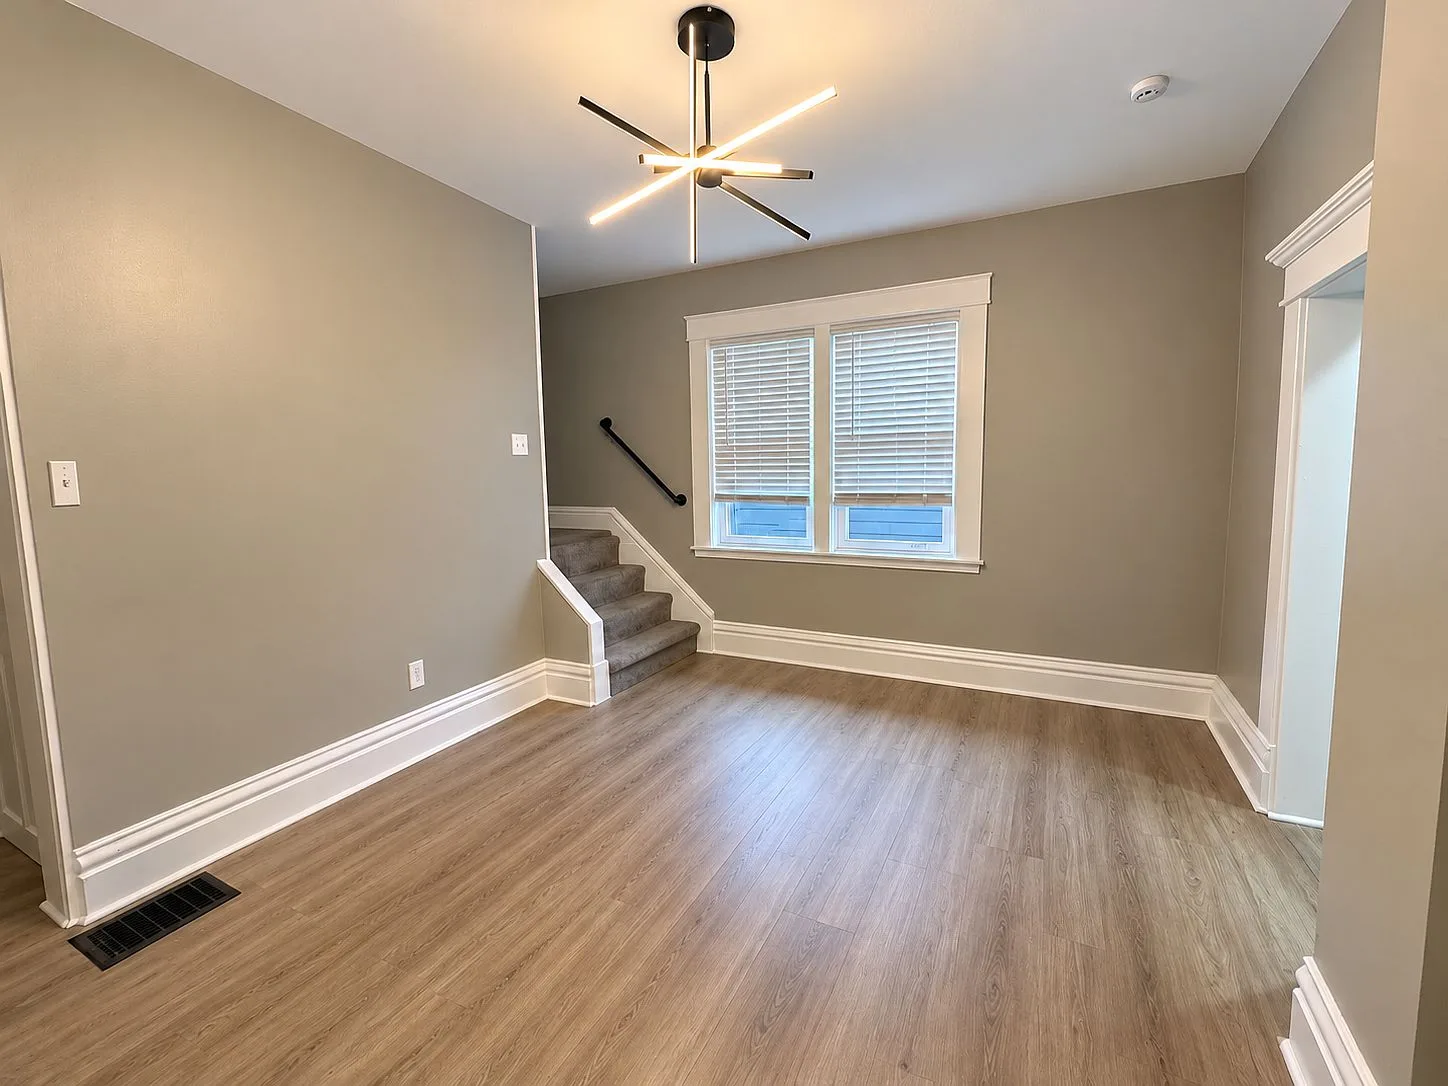
Get the room ready
Spend more time here than on the camera. A clean, bright room photographed badly still beats a cluttered one photographed well.
- Clear every surface. Toasters, soap, mail, magnets, cords. Each one is small. Together they make a room look busy and smaller than it is.
- Open the blinds all the way. Daylight is the cheapest light you have.
- Turn every light on. Ceiling, lamps, under-cabinet, range hood. Replace dead bulbs, and keep them all one color, warm or cool, not both.
- Close what can be closed. Toilet seats down, closet doors shut, shower curtain pulled straight, towels folded or gone.
- Clean the floor. It is the biggest surface in most photos. Vacuum lines show, and so do pet hairs.
- Take your tools with you. Ladders, paint cans, and shoe covers end up in more listing photos than you would think.
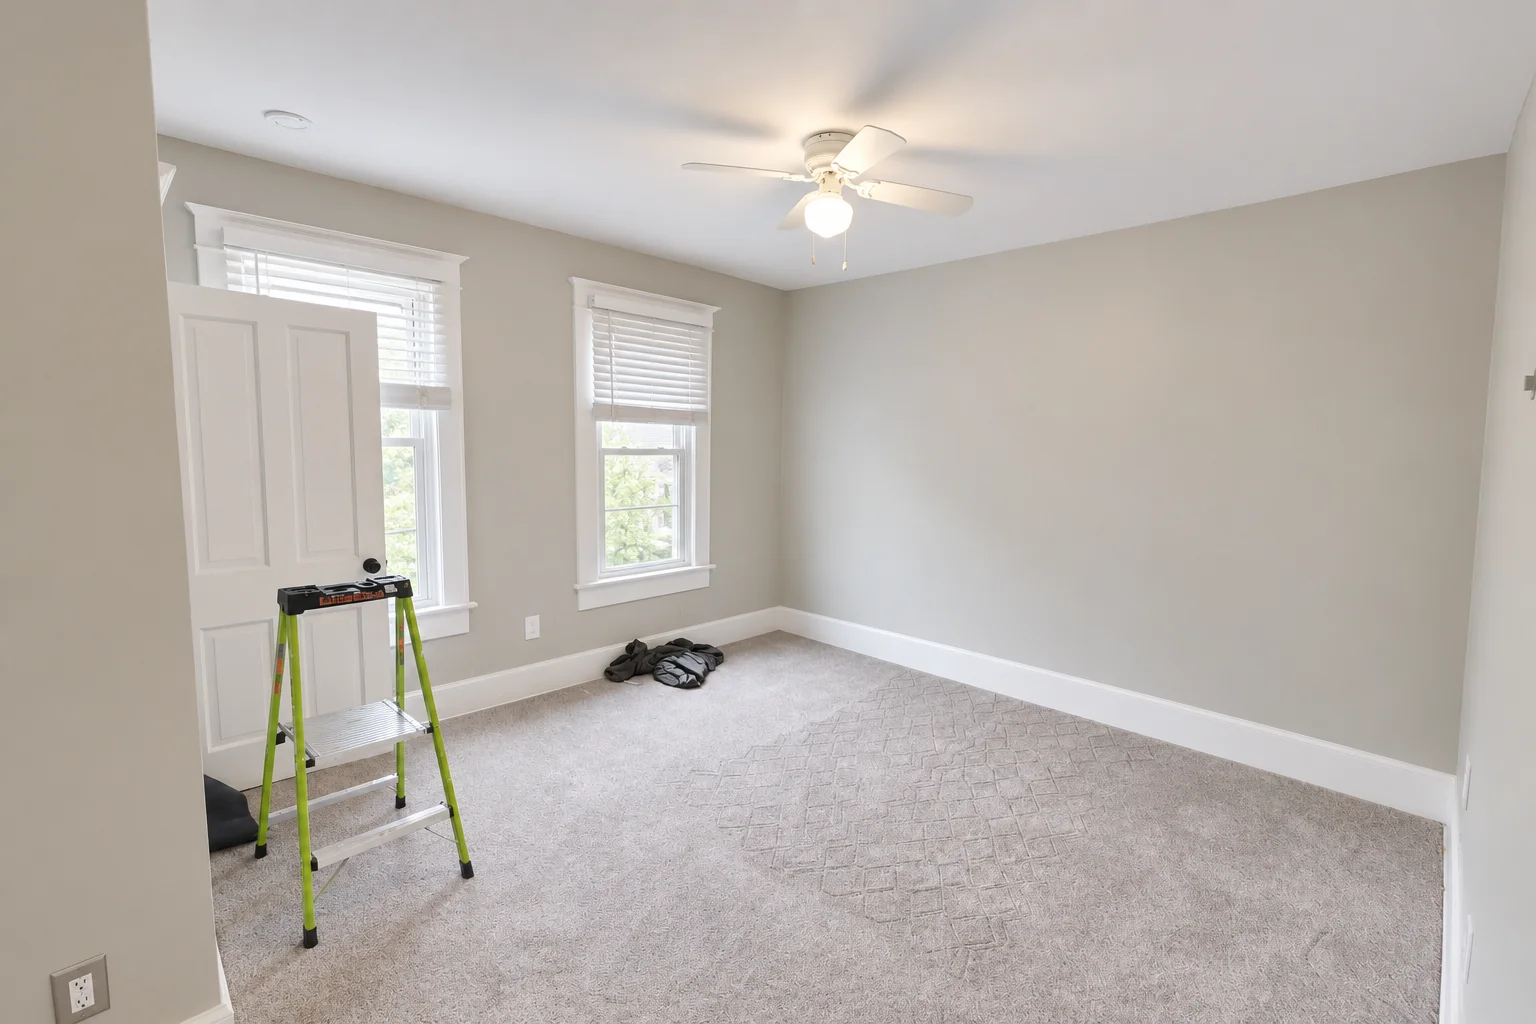
Put the camera at chest height, and keep it level
Hold the lens about 4 to 5 feet off the floor. Higher looks down on the room and makes it feel like a hallway. Lower makes the ceiling loom and hides the floor.
Then point the camera straight ahead, not up and not down. Tilt is what makes walls lean. If the uprights in the photo are not vertical, the camera was not level. Turn on the grid and the level in your camera settings, and line the vertical gridline up with a door frame before you shoot.
Stand in a corner or a doorway and aim at the opposite corner. You get two walls, the floor, and the depth of the room. Shooting one wall straight on shows a flat rectangle and nothing about how big the room is.
Hold it still. Indoor light is low, and blur is the first thing a buyer notices. A tripod is best. A phone braced against a door frame is fine.
Use a wide lens, not the widest one
A room needs a wide lens to fit. Too wide and the corners stretch, the furniture near the edges bends, and the room looks bigger than it is. Buyers notice that at the showing.
| Camera | Lens | Notes |
|---|---|---|
| Full-frame camera | 16 to 24mm | Wider than 16mm stretches the corners |
| APS-C camera | 10 to 16mm | Same view as 16 to 24mm on full frame |
| Phone, 0.5x | About 13mm equivalent | Fine for small rooms. Keep doors and furniture out of the edges |
| Phone, 1x | About 24 to 26mm equivalent | Large rooms, and any room where 0.5x bends the walls |
Shoot horizontal. Listing sites and screens are wide. A vertical photo of a room is mostly ceiling and floor. Skip the panorama mode too: it fits the whole room and bends every wall to do it.
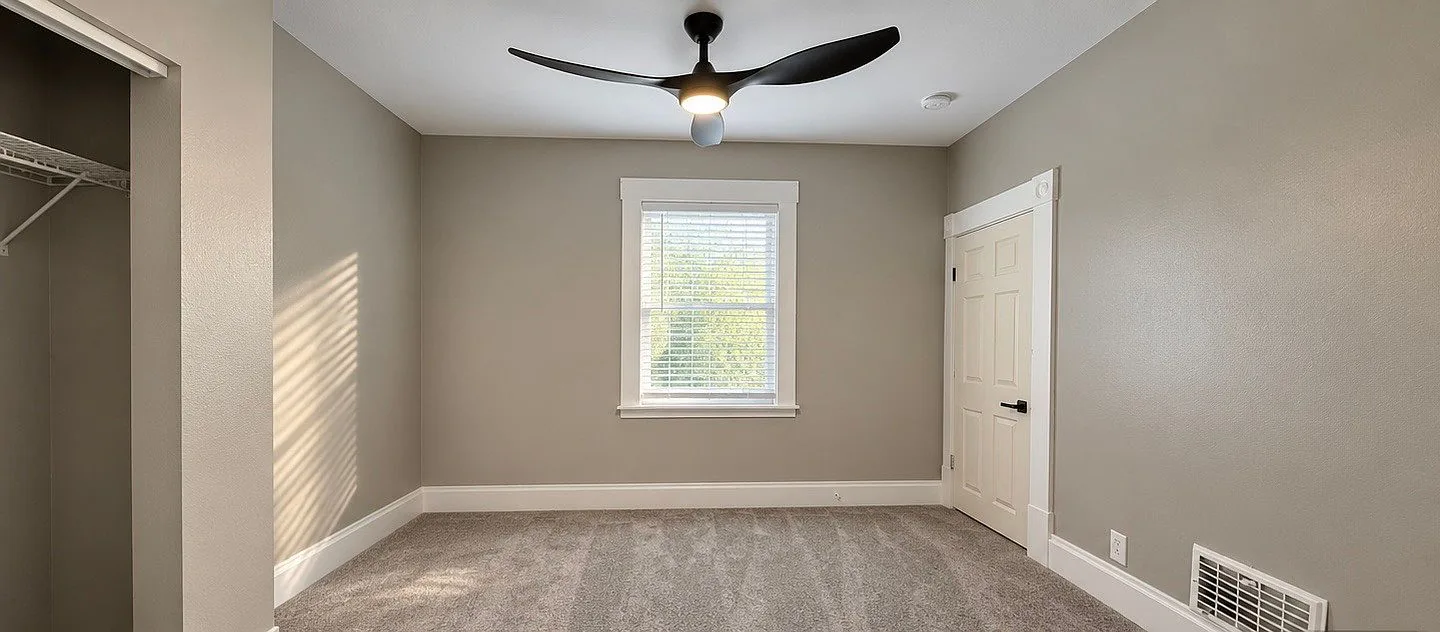
Set the exposure on the room, then save the window
The window is the brightest thing in the frame by far. If the camera exposes for it, the room goes dark. If it exposes for the room, the window turns white.
- On a phone, tap the wall, not the window, to set focus and exposure. Long-press to lock it. If the window is pure white, drag the brightness down a little.
- Leave HDR on. The phone takes several exposures and blends them, which is what saves the view.
- On a camera, bracket three to five exposures from dark to bright, on a tripod, and blend them.
- No flash pointed at the room. It makes hard shadows and shiny floors. Bounce it off the ceiling behind you, or skip it.
- One white balance for the house. A white wall should be the same white in every room.
Pick the hour. Shoot rooms when the sun is not pouring straight in, and the front of the house when the sun is on the front. Overcast days are easy everywhere.
Shoot the empty room so it can be furnished
Empty rooms look smaller in photos than they are, because there is nothing in them to give them a scale. That is what Furniture Finder is for. It works best on a photo shot this way:
- Keep the back wall in the frame, edge to edge if you can. That is the rectangle the walls are straightened to.
- Show the whole floor, from the back wall to the bottom of the frame. Furniture sits on that plane.
- Measure one wall. Its width sets the scale for every piece.
- Do not crop or zoom afterward. The straighten step needs the full frame.
- If you will reshoot it furnished, mark where the tripod stood, so the before and after line up.
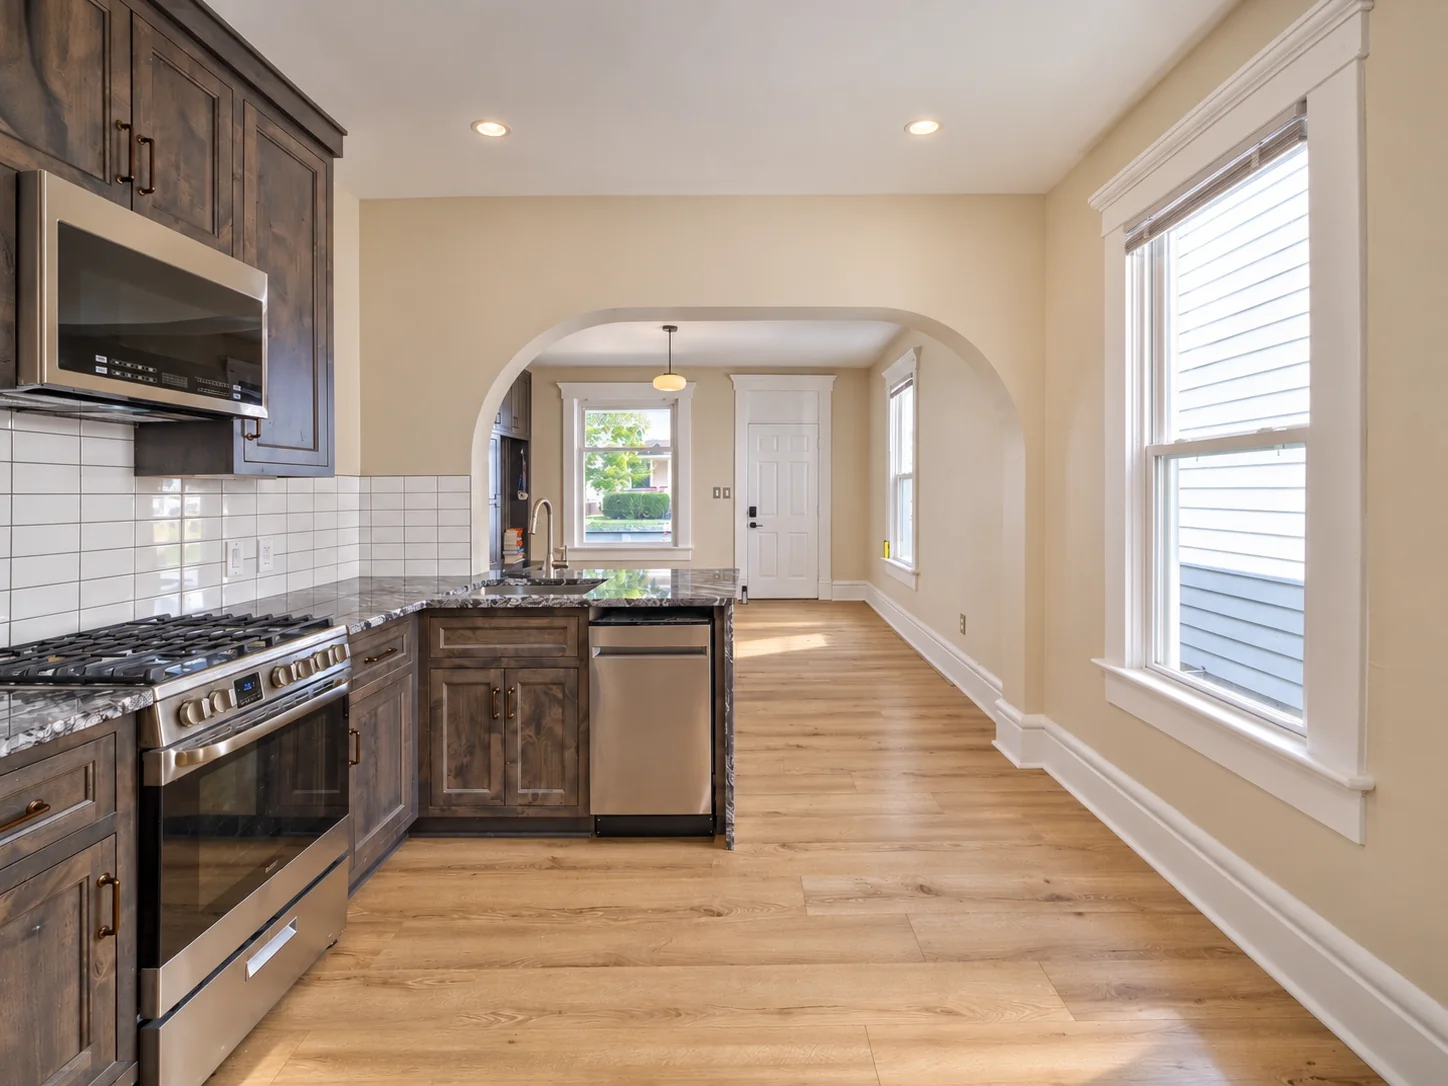
Once you have one, straighten the walls and pick real pieces to set on the floor.
The shot list
Every room a buyer will ask about should appear at least once. Shoot more than you need, then keep 20 to 30.
| Room | How |
|---|---|
| Front of the house | From across the street, at a corner, with the whole roofline |
| Living room | Two angles, from opposite corners |
| Kitchen | Wide from the entry, then one of the counters and appliances |
| Primary bedroom | From the doorway, with the window in the frame |
| Other bedrooms | One each, from the door |
| Bathrooms | From the door, with the mirror angled so you are not in it |
| Backyard | From the back corner, looking at the house |
| The one thing | The fireplace, the view, the built-ins. Whatever the house is known for |
Before you post
Look at each photo on a phone, not on a laptop. That is the size most buyers see it at. If the walls lean, reshoot it level rather than fixing it later. Straightening in an editor crops the edges, and the edges are the room. Keep edits to brightness and white balance. Do not change what is in the room. Many MLSs require virtually staged or digitally altered photos to be labeled. Check yours.